The smooth operation of your drone is highly dependent on its connection to the controller. The process is usually similar for most drones and it’s very straightforward. However, some drones require an app to connect to the controller. At the end of the day, whichever the means, the controller serves the same purpose which is to send radio signals through radio transmitters. The drone’s radio receiver catches the signals and then begins to operate according to them.
It’s important to learn how to connect a drone to a controller if you have one. This article explores the entire process of pairing a drone with a controller as well as some of the common issues you may encounter. Sometimes the drone refuses to connect with the controller, but it doesn’t necessarily mean you made a bad buy. You will also get in-depth information on the possibility of using another controller for your drone.
Knowing the drone controller features and terminology will help you understand how drone controllers operate.
Drone controller terminology isn’t sophisticated. The 4 main terms used are ways of maneuvering a drone with the control and they include;
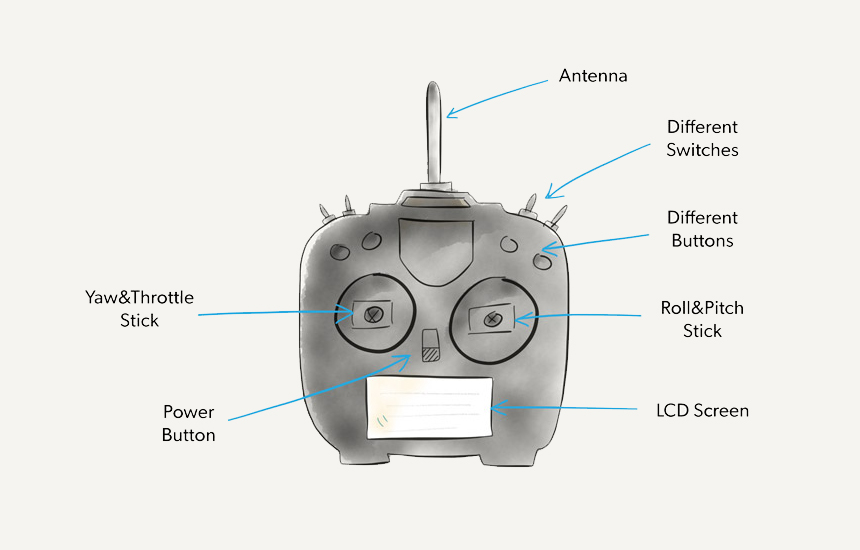
Here are some of the basic features to be keen on;
Trim button – this is also known as the cut button. All drone remote controls come with the cut button. It comes in handy when you notice your drone is flying in a single direction from the initial take-off. The cut button will help you get the balance you need.
Right stick – this allows you to control the pitch and roll of your drone. You can change the drone’s direction to the right, left, backward, or forward as you want.
Left stick – this is what you use to control the yaw of your drone. It allows you to gain control of your flying elevation as well as rotate the drone clockwise and anti-clockwise.
FPV screen – not all drone controllers come with a display. The display gives you a show when flying your drone. If you happen to have a drone controller that doesn’t feature a display, you can use your smartphone or tablet for a first-person view show.
There are different ways of connecting a drone to a controller and the model determines whether you need an app or not. But how does a drone communicate with a controller? Either method serves the same function, which is to send radio signals through the radio transmitters. What matters is you get a secure connection with the drone controller for a smooth operation. Here is how to pair your drone with a controller;
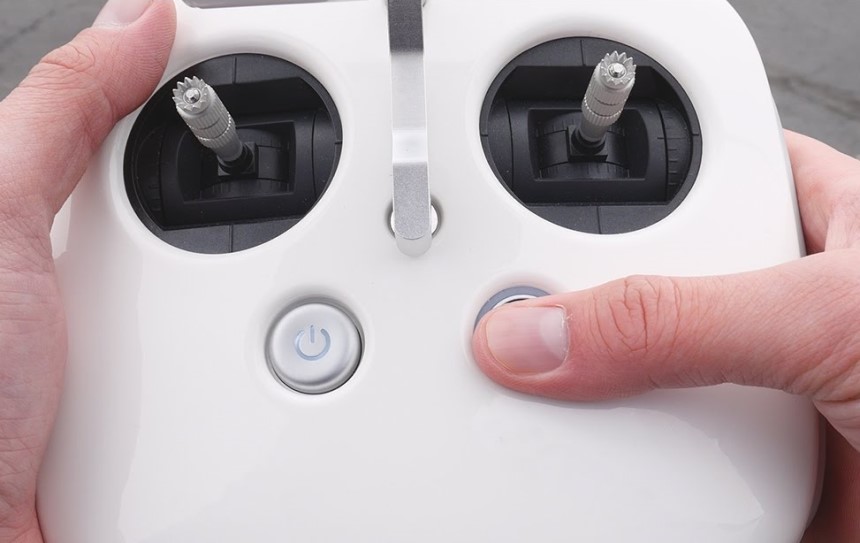
Switch on the function button by pressing and holding it for about 3 seconds until it produces a beep sound. The LEDs on the drone’s front will blink red quickly and you will notice them launch a link to the controller.
Next is switching on the controller and it’s a bit different. Press the pause button, function button, and customization button simultaneously for a few seconds until you hear a beeping sound. Release them all at once the beeping sound comes on. The controller and the drone should start linking by now.
The beeping sound will stop after a short while and you will know the connection is successful when the status LED and the controller produces a green light. The controller will then begin to send radio signals to the drone to control its functions.
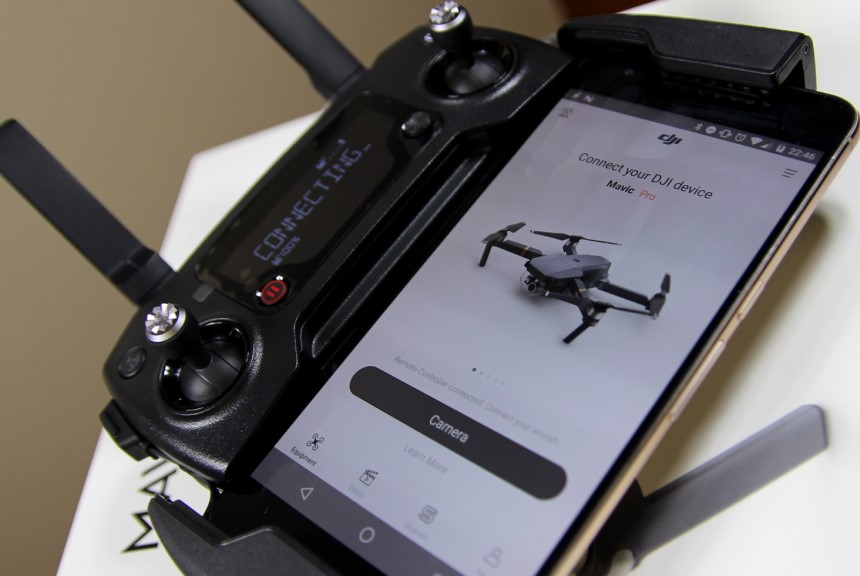
The first thing you ought to do is power on both the controller and the drone. The controller’s LED will produce a red light and the drone will start blinking yellow which is an indication that it is ready to connect to the controller.
Next, you need to download the app to your phone and then launch it. Open it then go to enter the device then enter the camera view. The icon for remote control settings will appear in the upper right corner of your phone. Well, the position may be different depending on the app. Tap on the ‘linking remote controller’ prompt then ‘okay’. You should hear the remote controller beeping which is an indication it’s ready to connect.
Long press the link button on the drone for about 3 seconds. Most drones have this button on the back edge. Release the button the moment you hear a beep sound or a bell. You should be able to see a red light on the drone which is a sign that it is linked to the controller. When the beeping stops, both the controller and the drone will produce a green light and you will get an ‘Okay’ prompt on your screen alerting you of a successful connection.
The process of connecting a drone to a controller is similar for most drones. It may be a little tweaked across different brands of drones but it is nothing complicated. Here is how to connect some of the most popular drone brands;
Step 1
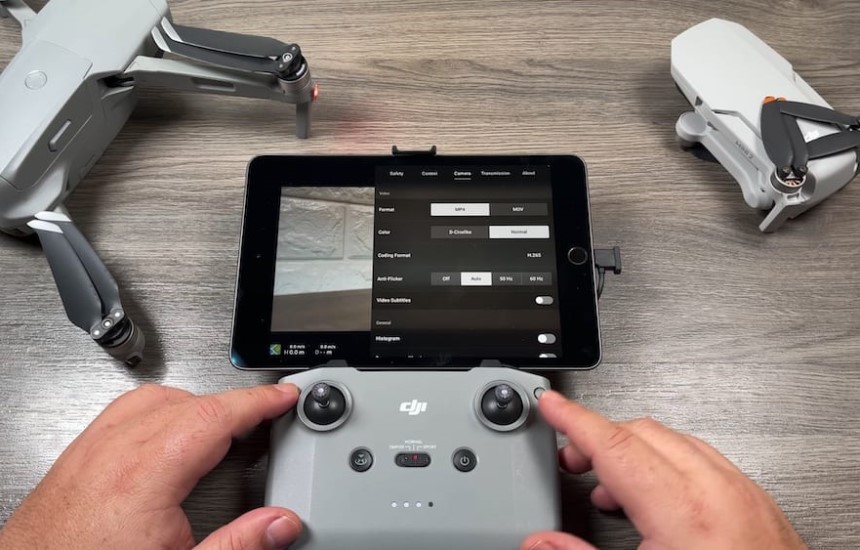
Download the DJI fly app on your phone. It is available for both Android and iOS users.
Step 2
Connect your phone to the controller that the drone came with. The controllers usually come with cables that are compatible with most phones. Pick the right cable for your phone, mount it then power on the controller.
Step 3
Connect the controller to the drone via DJI fly app. Open the app on your phone. You will see ‘connect aircraft’ at the bottom right. Tap it then go to settings. Click on ‘control tab’ then select connect to aircraft. The drone’s LED lights should be flashing at this point, indicating readiness to connect to the controller.
Step 4
Power on the DJI by long pressing its power button for about 3 seconds. The drone’s LED lights should still be flushing. The flushing will stop once there is a successful connection between the drone and the controller. You will know the connection is established when you can see the drone’s feed on your phone.
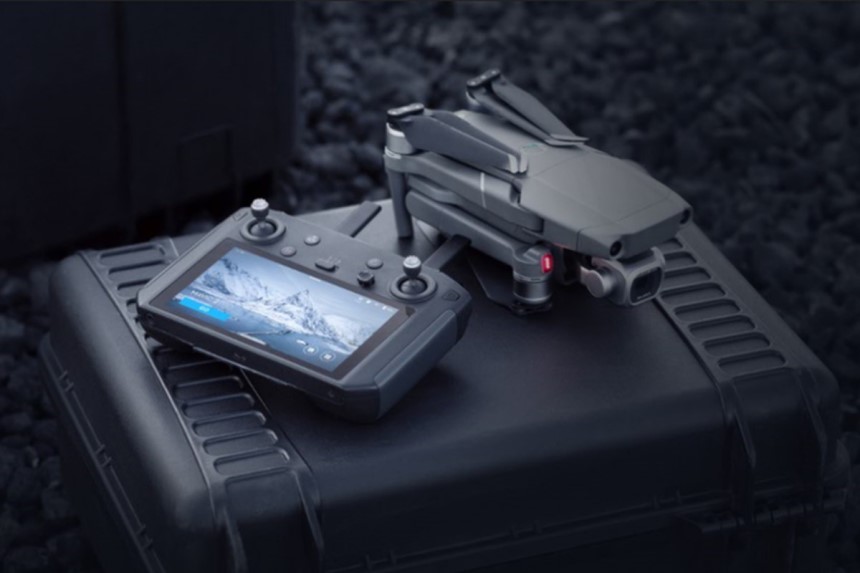
Step 1
Download the DJI Go 4 app which is meant for all the Mavic series drones except Mavic Air 2. It is available for both Android and iOS.
Step 2
Connect your phone to the controller with the correct cable. Your DJI Mavic controller comes with a port at its bottom, but you can also use the USB port if your phone has a different connection port.
Step 3
Get your drone’s Wi-Fi credentials on one of its arms. You will need them to connect the drone to your phone. Alternatively, you can simply scan the QR code.
Step 4
On the right side of your Mavic is a control mode switch. Find it and toggle it to Wi-Fi.
Step 5
Turn the drone on by pressing and holding the power button. Release it then press it again quickly until you hear an initializing sound from the drone.
Step 6
Connect the drone to your phone using the DJI Go 4 app. Open the app then choose your drone model at the top left side of the screen. Next, go to the menu on the right corner of the screen. Tap on scan QR code to easily connect your phone with your DJI Mavic pro. Now go on and connect your drone’s Wi-Fi by pointing your phone’s camera to the QR code on the arms of your Mavic. Hold steady to get a clear image so that the code can be scanned to establish a connection between the phone and your drone.
The Autel robotics EVO II is the most popular Autel drone because of its top-quality craftsmanship. It can go far and faster at an impressive speed of 45mph for up to 40 minutes. To pair your Autel aircraft to a controller;
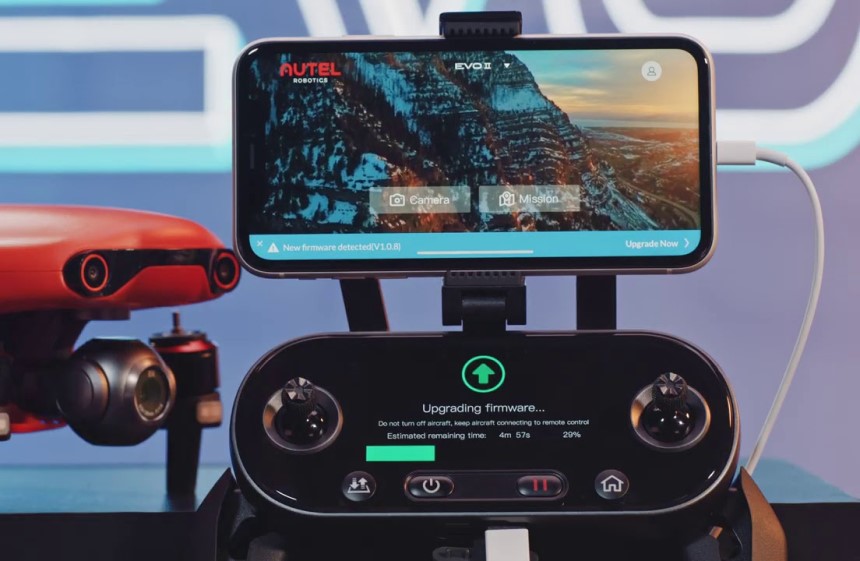
Remove the gimbal guard on the drone so that you can power it on safely.
Step 2
Turn on the drone by pressing the power button.
Step 3
Press the drone’s pairing button. It’s a small button beside the drone’s port. You may have to use a pin to press it. It will start flushing once you press it which is an indicator the drone is ready to pair.
Step 4
Next, connect the controller. Press the power button and the home button simultaneously for a few seconds. You should hear a beeping sound from the controller which is an indicator that the connection is successful.
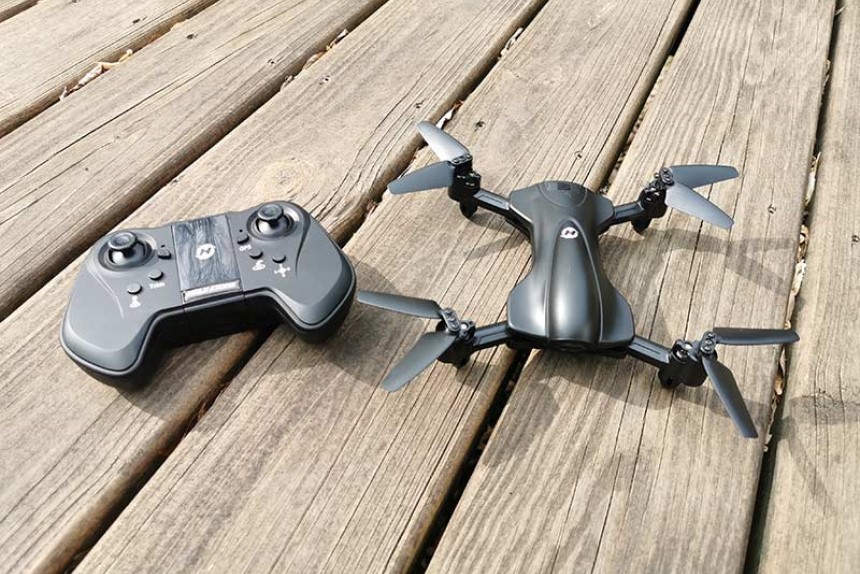
Step 1
To connect the holy stone drone to the controller, ensure your phone is Wi-Fi enabled then download the Holy stone app.
Step 2
Go to the settings and look for the Holy stone drone. Check if the Wi-Fi network appears then select the drone and get it connected.
Step 3
Power on the drone and the controller. Go to your phone’s Wi-Fi connection then click the Holy stone connection. Go back to the app on your phone and click on the Wi-Fi setting and connect to the Drone’s Wi-Fi.
Step 4
Configure the drone’s mobile app using the guidelines provided on the app. When done, try to fly your drone using either your smartphone or the controller.
Step 1
For connecting the Sky Rider drone to the controller, first, you need to press the function button. You will hear a beeping sound and the front LED of the drone blinking red.
Step 2
Next, you should press and hold the controller’s pause button, function button, and customizable button for a few seconds. When you hear a beeping sound, it means they are connected. You can also sync the drone to the controller using the Sky Rider app.
Step 1
To connect the Syma drone to the controller, power on the drone.
Step 2
Power on the controller
Step 3
Lift the left stick on the controller up and back. You will hear a beeping sound which means the devices are synced.
Step 1
To connect the Snaptain drone to the controller, first, power on the drone.
Step 2
Power on the controller.
Step 3
Move the left stick on the controller to the top and back. When the drone’s front LEDs slowly turn white and the rear LEDs turn blue, that means the connecting Snaptain drone to the controller is finished.
Step 1
For connecting the Deerc drone to the controller, power on the transmitter.
Step 2
Push the stick on the controller up and down.
Step 3
Connect your phone to your drone via Wi-Fi.
Step 4
Open the app, and put the phone on a phone holder on the controller.
Step 1
To connect Ascend drone to the controller, turn on the drone and the controller.
Step 2
Connect your phone to the drone via Wi-Fi.
Step 3
Open it and follow the instructions.
Some users also have a problem when the drone is not connecting to the remote. There are times when your drone will take time to connect with the controller. Sometimes it won’t connect at all. There are different causes for these common issues and they include;
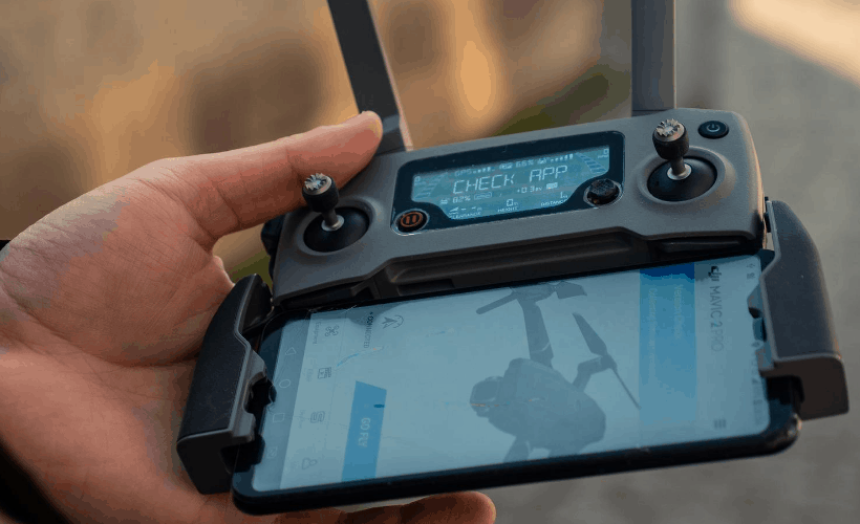 App incompatibility
The drone may fail to connect to the controller if the app you are using to control it isn’t running in the background. If this is the case, force quit the app by going to settings and tapping of FORCE STOP then re-launch it.
A faulty USB connection between the controller and your phone/mobile device could also affect the connection. Try unplugging and re-plugging the cable for a stable connection.
Also, apps are not consistent for all kinds of drones. You must ensure the app you are using is compatible with your drone and its remote controller.
The drone won’t connect to the controller if the syncing of the controller isn’t done right. The issue could also be that you are using a controller from a different manufacturer. Some drones are only compatible with the controller provided by the manufacturer.
Also, although the process of connecting a drone to a controller is pretty much the same for most drones, it’s important to follow the manufacturer’s setup guide as setup instructions can differ.
The connection is also likely to get impaired if the drone has hardware issues. You will notice hardware issues if the signal keeps flushing. You may also be struggling and the controller is pairing with another drone nearby. Ensure it is paired with the right drone.
If none of the solutions work, contact your drone’s manufacturer for further assistance.
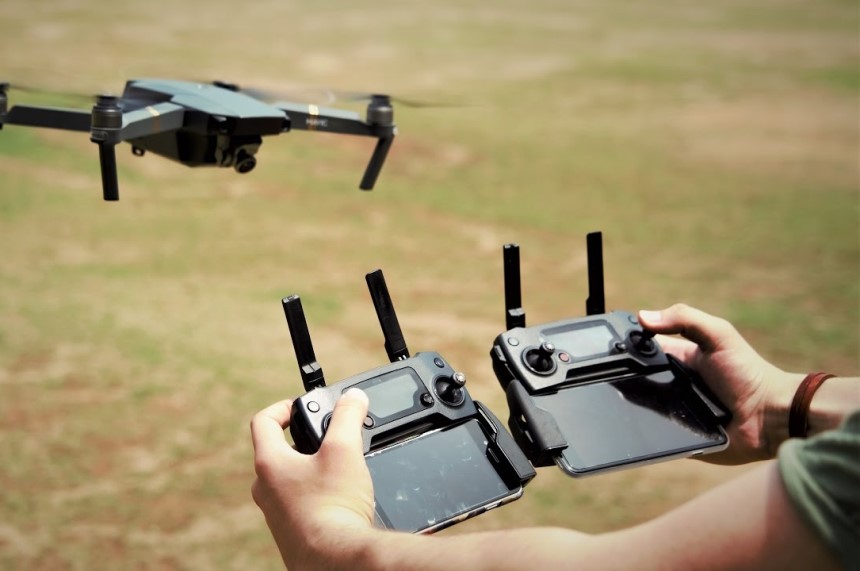
With advancements in technology smartphone and tablet drone control is increasingly becoming popular than the use of handheld transmitters. RC transmitters Trusted Source Playing with waves Radio-controlled or remote-controlled toys, popularly called RC toys, are self-powered and can be controlled from a distance using a remote that works with radio waves. www.businesstoday.in are however still the most preferred option for controlling drones. They come in different designs to suit each drone but they are interchangeable. You can use one RC transmitter for different drones.
Whether or not you can interchange controllers depends on the type of drone Trusted Source Drone Types: Multi-Rotor vs Fixed-Wing vs Single Rotor vs Hybrid VTOL Although multi-rotors get most of the attention in the drone world, they are not the only option. If you’re serious about aerial mapping then you need to consider a fixed-wing aircraft, and single-rotor helis are also a great solution for some niche applications too. www.auav.com.au . Some drones come with controllers specifically designed for them and are not interchangeable with other drones. Most ready-to-fly drones and in-camera drones like DJI, parrot, and Autel are good examples of models that come with bind-in controllers that aren’t interchangeable. Some DJI models come with an intelligent controller that can be used with other models.
Do note that some customization is required for drones with interchangeable controllers. The customization primarily involves changing its programs by connecting it to a computer via USB and an app.
Drones are fun and fascinating and are a fantastic Christmas or birthday gift idea but they are only fun to fly or operate when there’s a stable connection between them and a controller. As a drone pilot, you must learn how to connect your drone to a controller correctly. It doesn’t matter if you are experienced or not, setup guidelines are different across brands. However, the process of connecting a drone to a controller is very much similar for most drones.
You may experience some difficulty connecting your drone to the controller and most of the time it’s just a small issue like the drone and controller’s battery levels, app incompatibility, and improper pairing. The best news is that you can use a remote controller with different drones depending on the kind of drone. Some drones come with their specified controller that can’t be used interchangeably, but most models like the FPV racing kind can be used interchangeably.