There are a number of things that could disrupt the GPS signals, such as excessive foliage, mountainous terrain, cloud cover, and more. The GPS must be able to communicate with the built-in compass, or the direction of flight cannot be established or monitored accurately. A Mavic Pro compass calibration may be required to reset the system and facilitate flight in a safe and controllable manner. In this article, we will explore this topic in more detail to show you how to calibrate Mavic compass.
The only purpose of a Mavic Pro manual compass calibration is to measure the magnetic field of the aircraft components and subtract them from the total magnetic field. The best long range drones have three-axis magnetometers that can be rotated to separate the ambient surrounding magnetic field from the magnetic field of the aircraft. This is essential, when you calibrate DJI Mavic Pro drones, you will notice that the magnetic field of the aircraft remains constant. It’s the surrounding magnetic field that rotates as the magnetometers are rotated. There is no measurement that would allow the flight controller of the drone to determine the declination or deviation at a specific location because the aircraft doesn’t know the location of true north. During Mavic Pro compass calibration, the declination is set from a global model that’s embedded in the firmware for the aircraft. There is no way to make deviation compensations because this cannot be measured. This is the reason why you may experience unstable flight if you launch a DJI Mini 2 Drone or other aircraft in an area with significant magnetic deviation.
The best DJI drones, such as the DJI Air 2S use a GPS system Trusted Source GPS — Википедия ru.wikipedia.org and the DroneDeploy app to monitor their position in space and conduct autonomous flight missions. But, if the GPS signals do not meet a minimum requirement for taking off, there is no way to fly that mission.
The drone can only detect the collection of poor data when it’s placed in a strong magnetic field Trusted Source Magnetic Field, www.utm.edu . The DJI Trusted Source DJI - Wikipedia en.wikipedia.org Mavic Pro compass calibration is necessary when red and yellow lights are flashing on the drone, and there will be compass error warnings in the app too. Although you may believe that the lack of a compass error means that the compass is calibrated and working normally, this may be untrue. For this reason, it’s advisable to carry out the appropriate checks before setting the compass calibration Mavic Pro if that’s required. Remember, there is always a chance that the compass may be negatively affected by an external magnetic force, and caution is recommended.
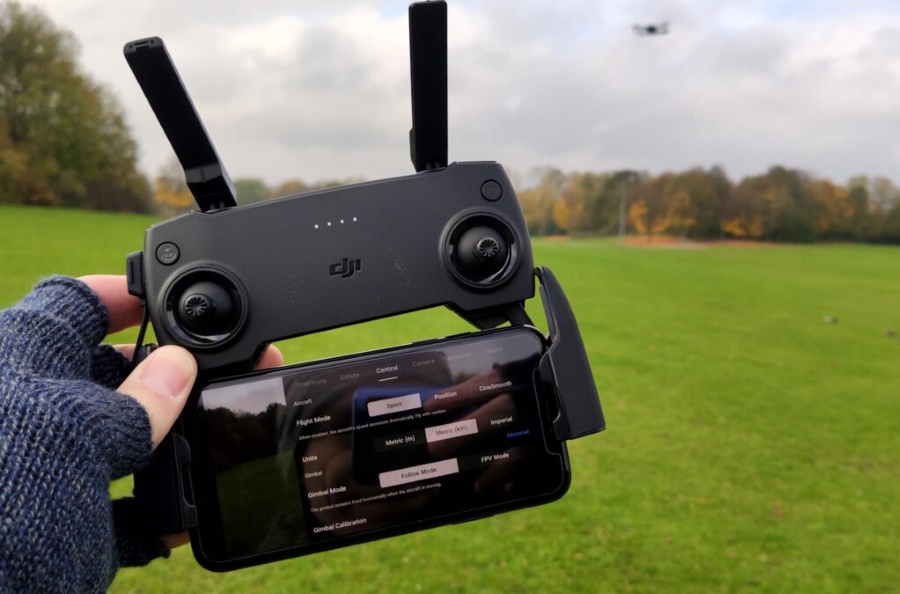
It is possible to compensate for Mavic Pro compass calibration interference. Go to the main controller settings, tap the advanced settings button, and you will reach the “Sensors” section. There are colored bars that indicate the presence of magnetic fields, and they are green, you’re good to go. If the bars are red, this means that a flight from and in the vicinity of this location may be unstable. The best way to deal with this problem is to move to a different location and check the sensors again to see if the bars have changed to a green color. If the bars are still red, it may be necessary to carry out a Mavic 2 Pro compass calibration. The compass itself may be damaged or magnetized, and there is no guarantee that the calibration will fix the problem.
There is no need to calibrate the Mavic Trusted Source Mavic (unmanned aerial vehicle) - Wikipedia en.wikipedia.org compass before each flight, and there are times when you should not consider calibration at all. If you are calibrating, always use a Mavic Pro compass calibration tool and take care because it’s easy to make mistakes. There are four times when you should consider calibration:
The best location for the calibration is in a wide open area with no metallic surfaces within at least a 20-foot radius. Avoid structures such as: sidewalks, concrete, irrigation systems, rock formations, and drainage pipes.
There are three occasions when you should not consider a compass calibration for your drone:
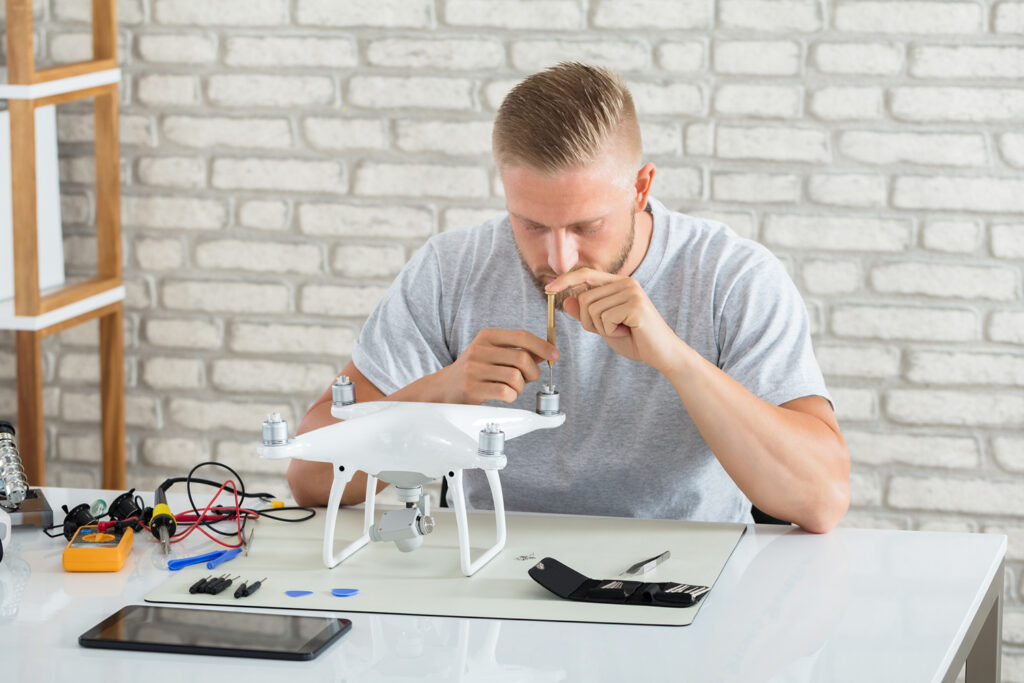
The best DJI Mavic mini accessories include calibration tools to make this process easier. Here are eight steps to follow (in order) to calibrate your drone successfully:
If the calibration fails, simply repeat the process again and make sure that you follow the steps as shown.
When you carry out a Mavic Pro compass calibration on your drone, this process can take several minutes to complete. Many people are self-conscious when they calibrate their drone because, to a casual observer, it looks pretty weird. So, understanding when you should and shouldn’t calibrate is important to save time and your dignity. If the drone will not calibrate, it’s time to investigate other possibilities, and you may need to demagnetize the aircraft. If you’ve recently installed a new accessory, this should be the first thing that you consider if the drone was flying as intended up until recently.